
Camo Installation Guide
CAMO Fastening System Guide


Camo is easy to install with just 5 easy steps!!!
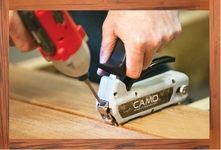
Clamp Camo onto your deck board. First predrill on side of board.
Then predrill other side of your board.
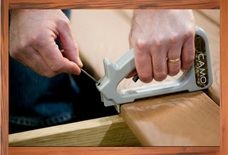
Insert your Screw on both sides.
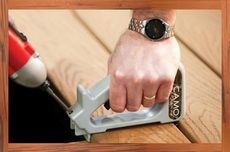
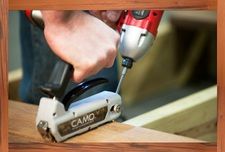
Using your drill, secure your screw on one side. Then secure your screw on the other side.

Repeat Steps 1-5 until you are finished and then enjoy your new deck!