
Headcote Installation Guide
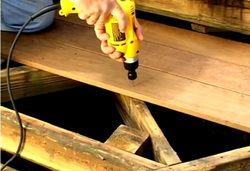
Insert your Smart-Bit Tool into your drill. Drill where you want your screws to be placed.
Note: Use a small broom to brush away any sawdust, not your hands.
Note: Use a sub-floor adhesive under your hardwood boards before installing them.
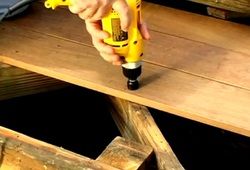
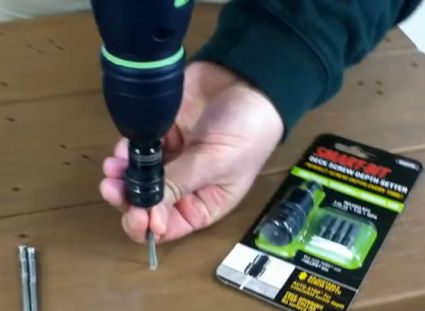
Your special bit has as stop in it so it pre-drills to the perfect depth every time.
Place your screw into your pre-drilled hole.
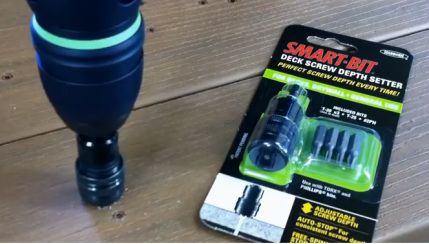
Your new Smart-Bit Depth Setter will tighten your screw at the perfect depth every time!
Headcote Screws come in several assorted colors which blend in beautifully with whichever hardwood you are using for your new deck.