
Eb-Ty Clip Installation Guide
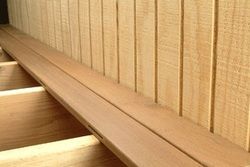
Installing the First Board
- Apply a bead of exterior construction adhesive to each joist, approximately 3/8" in width.
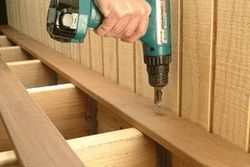
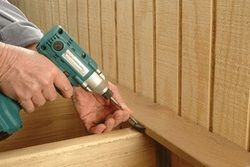
- Fasten one side of the first deck board using screws and plugs.
- ALWAYS Predrill for screw and plug.
- Use stainless trim-head screw at each joist of the first deck board.
Glue and insert EB-TY® 3/8" Ipe Tapered Wood Plugs into each countersunk hole.
- Carefully remove any part of the wood plug that protrudes, using a small saw or belt sander.
- Note: If using pre-grooved decking no slot or (kerf) cut is necessary and you can skip this step.
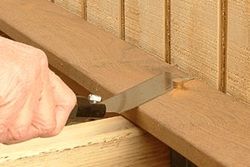
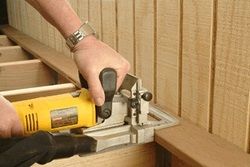
- Cut a slot (or kerf) in deck board at each joist and deck board intersection using a 1/8" router bit or plate joiner (biscuit cutter #20).
Note: Adjust router or plate joiner (biscuit cutter) height so that the bottom edge of the EB-TY fastener is flush with the bottom of the deck board.
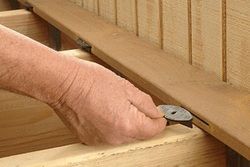
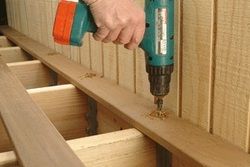
- Place EB-TY fasteners in the slots at each joist.
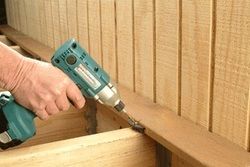
- Install one #7 X 2-1/4" stainless trim-head screw in each fastener at a 45° angle.
Do not over tighten screws, just tighten snug to the EB-TY fasteners.
Note: Drill an angled 1/8" pilot hole for each screw when installing hardwood decking to avoid splintering and to ensure that the decking is pulled tight to the joist.
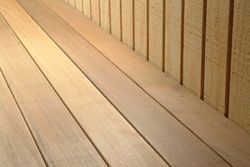
Installing Additional Deck Boards
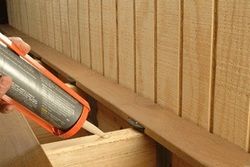
- Apply a bead of exterior construction adhesive to each joist, approximately 3/8" in width.
- If your boards are not pregrooved, cut a slot at each intersection with joist on each side of the next board. Do this in a production-like manner to maximize your efficiency and save time.
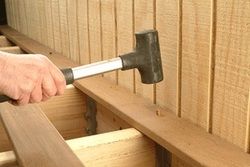
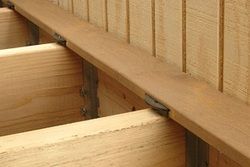
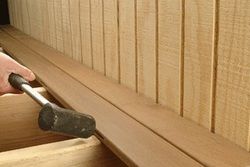
- Place the board so the slot slips over the exposed EB-TY fasteners. The fasteners will maintain uniform spacing between the deck boards.
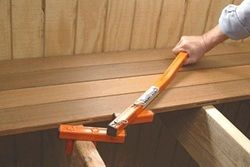
Use a BoWrench® or a clamp to straighten boards if necessary.
- Place EB-TY fasteners in the slot at each joist.
- Install one #7 X 2-1/4" stainless trim-head screw in each fastener at a 45° angle.
- Tighten snug to the EB-TY fasteners.
- Repeat the above process until all decking are fastened with the exception of the final (outside anchor) board.
Installing the Final Outside Board
- If your board is not pregrooved, cut slots or kerfs only on the inside of the final board.
- Place the board so the slots slip over the exposed EB-TY fasteners.
- Fasten using screws and plugs, following the same procedure as with the first board.